A toolbar for quick access to basic display, editing, searching and data-processing funcionality sits at the upper right-hand corner of the VHV window:
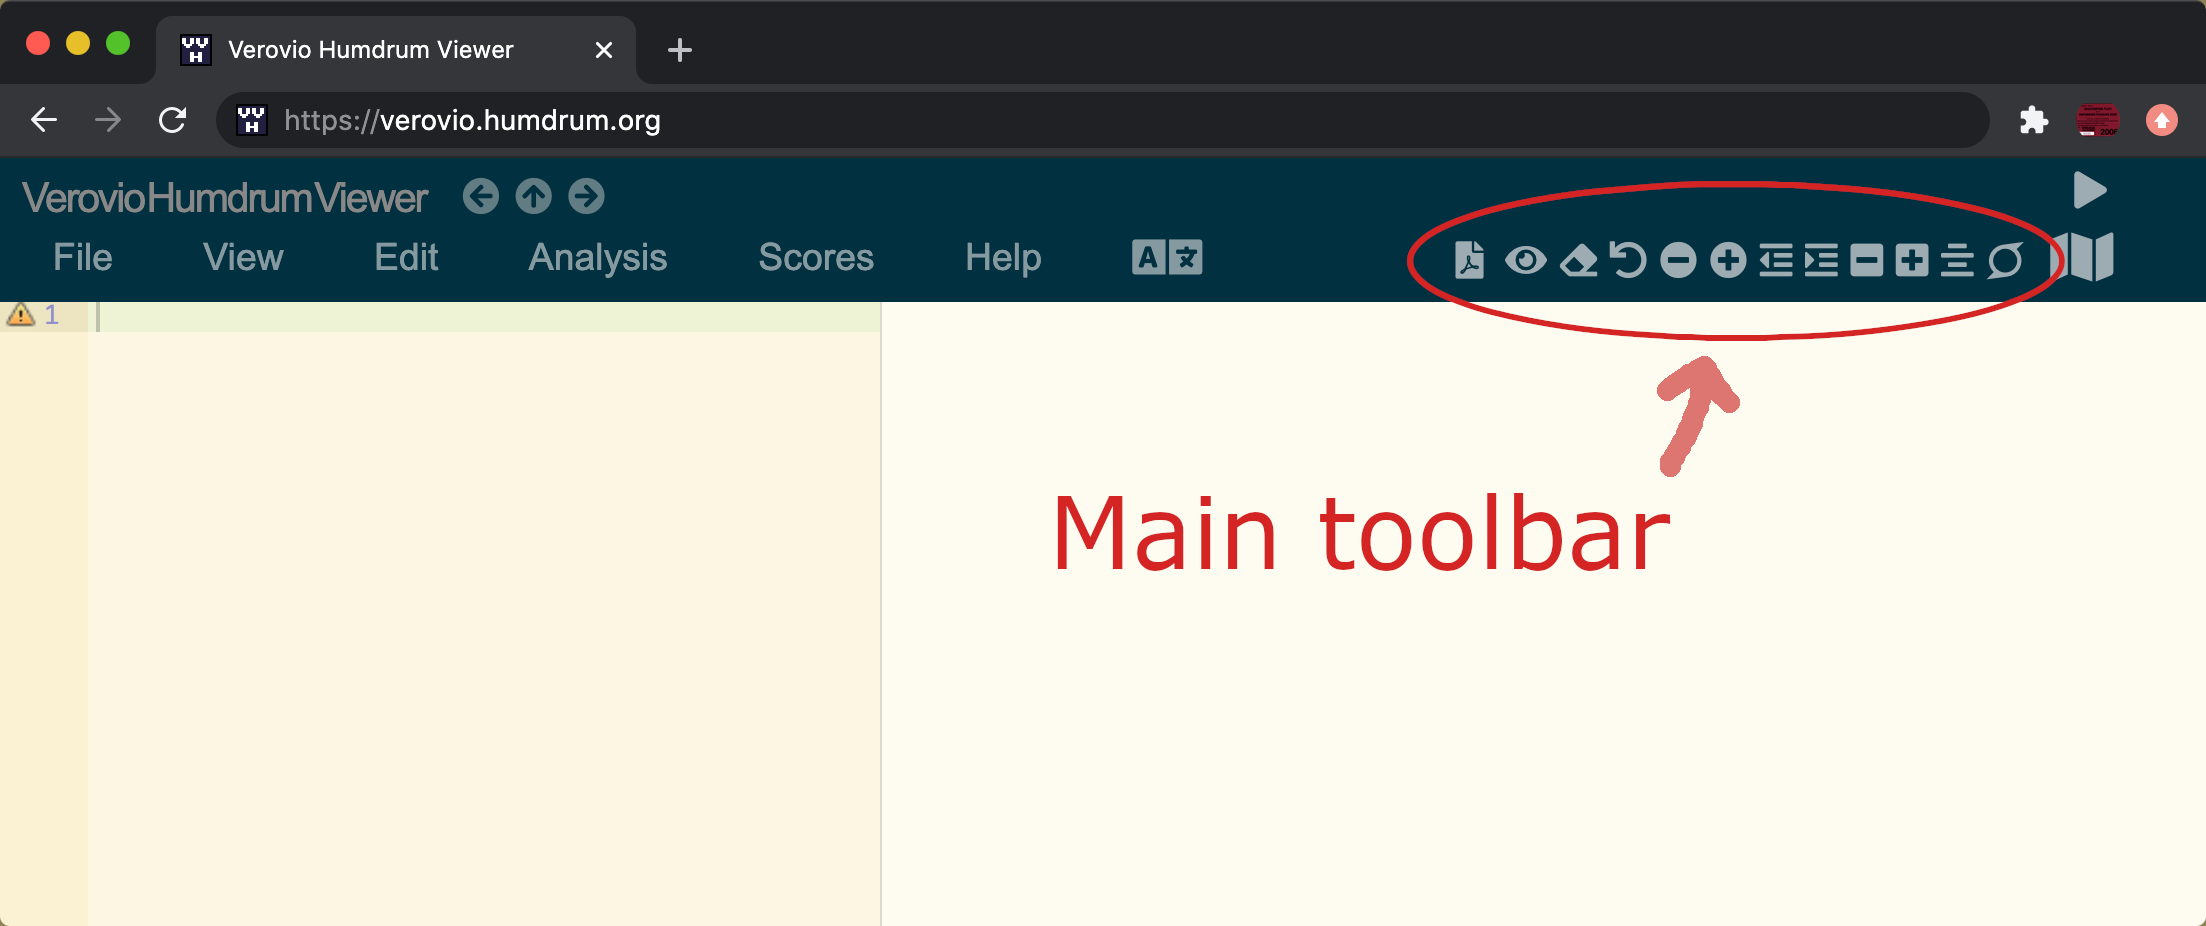
Main toolbar
The main toolbar allows you to resize the text/music, change the tab size, as well as other functions described below. If you move your mouse over any icon in the toolbar, a tooltip will appear after a few seconds that gives a brief description of that button. You can also try this hover feature on the demo toolbar above (although clicking will have no effect on the toolbars on this documentation page).
The table below gives a description for each icon in the main toolbar, with any associated keyboard shortcut given underneath the icon. For keyboard shortcuts, note that alt on Linux/Windows computers is usually called option on MacOS computers. In addition, control for Linux/Windows is instead command in MacOS.
| alt-p #+alt-p |
If a scan of the source edition is available, one or more
of these icons will appear to the left of the main toolbar.
The link for the icon may be stored within the data on a
reference-record line having the form !!!URL-pdf: URL [description].
Additional PDF icons can be displayed, such as adding "2"
for a second PDF: !!!URL2-pdf:.
The keyboard shortcut to open any second source URL is 2+alt-p.
|
|
alt-y |
By default the text editor is initially visible.
To start with it hidden, add the URL parameter k=y.
Here is a link to
Beethoven's Moonlight sonata, movement 1 that demonstrates
this feature (also adding "e" to suppress the splash music).
Also note that when the text editor is hidden, toolbar icons
related to the text editor will also be hidden.
|
| alt-e | If you click on this accidentally, click again to restore the contents just erased. |
| control-z | This works for both manual or automatic changes made to the text (such as filtering). |
| Also see the square sizing buttons further to the right, which have a similar effect on the music notation. You can also decrease the font size of the text and music together from the web browser's zoom controls (control-minus). | |
| Also see the square sizing buttons further to the right, which have a similar effect on the music notation. You can also increase the font size of the text and music together from the web browser's zoom controls (control-plus). | |
| alt-< | This narrows the width of Humdrum spines so that more are visible; however, columns wider than the tab size will become visually misaligned, decreasing readability. |
| alt-> | This increases the width of Humdrum spines so that spines are more likely to be vertically aligned properly; however, fewer spines may become visible (but you can scroll in the text editor to view content that is not visible). |
| This forces only one tab between each token on a data line. In general data should be saved in this format so that the files can be used with the original Humdrum Toolkit; however, Humlib tools do not care how many tabs separate each token. | |
| This ensures that the data in each spine remains in the same column. For example if a spine contains a split at some point in the data, regions of the spine before and after the split will have an extra tab inserted so that the next spine's data is vertically aligned in the same column. This facilitates piano-music editing, since melodic sequences remain in a single column rather than jumping around based on spine splits and merges in other spines to the left. | |
| alt-f | When unlocked, any changes in the text editor will be rendered immediately into music notation. Locking the notation is useful when editing long pieces that take a while to render, allowing text edits to not get bogged down by the music-rendering process. When the notation is "frozen" the background color is white, and when "unfrozen" the background is off-white. |
| Also see the circular sizing buttons further to the left, which have a similar effect on the text editor's font size. You can also decrease the size of the text and music together from the web browser's zoom controls (control-minus). | |
| Also see the circular sizing buttons further to the left, which have a similar effect on the text editor's font size. You can also increase the size of the text and music together from the web browser's zoom controls (control-plus). | |
| Toggle between explicit line breaks and automatic line breaking. The uneven horizontal-line icon indicates automatic mode is active, while even horizontal lines mean encoded breaks are used. If there are no encoded breaks, automatic mode will be used in both states. For data entry, encoded line breaks are better for visual alignment with the source edition; however, displaying music with an different aspect ratio or size may make automatic line breaking more desirable. | |
| Show this documentation page. | |
| alt-n #-alt-n | To go to a specific toolbar directly, type the number for that toolbar before using the next-toolbar shortcut. For example 3+alt-n takes you to the third toolbar (the buffer loading toolbar, described below). Holding the shift key while clicking on this icon will cycle through the toolbars in the reverse direction. |
Buffer save toolbar
The save toolbar is used to save the current contents of the text editor to one of nine buffers in the web browser. These buffers can be reloaded into the text editor from the next toolbar menu (alt-n moves you to the next toolbar, or click on the toolbar-cycle button to go to the loading toolbar).
When a buffer has contents, its corresponding save button will be highlighted in red. This is demonstrated in the sample toolbar above, where buttons for buffers 3, 5, 7, and 8 are filled with some contents. This is useful for knowing which buffers have contents as well as helps prevent you from accidentally erasing previously stored contents. If you want to erase the contents of a buffer, save the contents of the text editor when it has nothing in it, or shift-click on the buffer icon to erase its contents as well.
Tooltips for filled buffers give the title of the data when it was
stored. The tooltip matches the description given at the top of
the VHV page, and is typically the composer and title, coming from
the !!!COM: !!!OTL:
reference records; however, a different format for the description
at the top of the page (and for this tooltip) can be made using the
!!!title: reference record.
Keyboard shortcuts allow saving to the buffers without the need to view or click on the buffer-save toolbar. First type the number of the buffer to save (1 through 9) and then press alt-shift-S to save to that particular buffer.
Buffer load toolbar
The load toolbar is structured in a similar manner to the save toolbar: clicking on a numbered button will load the contents of the buffer into the text editor. Buffers that have contents are highlighted in green. The above demo toolbar has contents in buffers 3, 5, 7, and 8 that is available to load into the text editor. Trying to load an empty buffer will have no effect (use the alt-e to otherwise clear the contents of the text editor). View the title of the contents (if any) as a tooltip on the button.
Keyboard shortcuts allow loading from the buffers without the need to view or click on the buffer-load toolbar. First type the number of the buffer to load (1 through 9) and then press alt-shift-R (meaning “Restore”) to load to that particular buffer. There is also a special buffer called 0 that saves the current contents of the the buffer automatically once every minute. To recall the contents of this buffer, type 0+alt-shift-R. Usually control-z serves a similar function to undo changes to the text.
Search toolbar
The search toolbar allows you to locate musical features in the score. Type features into the appropriate pitch, interval and rhythm boxes on the toolbar and the matches will be highlighted in the score. Features can be searched in tandem, such as the pitch sequence “cdefg” starting on a rhythm of “1” (whole note). As you type in the search fields, the number of matches will be displayed to the left of the search boxes:
| Type the letters A through G (case insensitive) to search by pitch class. Add optional chromatic alterations after the name: "n" for natural, "-" for flat, and "#" for sharp. Spaces between notes are optional. | |
| Type the numbers 1 through 9 with an optional minus sign for falling intervals. "1" means a repeated note, "2" is a step "3" is a third, and so on. "-3" means a third down. Spaces between intervals are optional. | |
| Type rhythms as numbers, such as "1" for whole note, "2" for half note, "4" for quarter note, and so on. Numbers can be followed by one or more augmentation dots ("."). Spaces are optional, and rhytms such as "16", "32" and "64" will be automatically parsed. Only power of two rhythms available at this time. | |
| If the music contains chords, choose either the highest note (up-pointing icon), or the lowest note (down-pointing icon) when searching for melodic patterns. | |
| This button controls the display search matches: either show the entire score, or show only measures that contain matches. | |
| Display more information about searching. | |
| alt-n #-alt-n | To return to this toolbar directly, press 4+alt-n. |
For more information about searching, see the documentation page for searching.
Filter toolbar
See the documentation page for filtering.
Spreadsheet toolbar
The spreadsheet toolbar allows bidirectional communiction between VHV and Google Sheets. This is particularly useful for editing orchesteral scores, since the instrument label line can be frozen at the top of the sheet while editing further down in the score.
| See the documentation page for spreadsheet interaction for how to create a script and get its ID to paste in this box to connect to a particular spreadsheet. | |
| The contents of the text editor will replace the current contents of the linked spreadsheet. Hold down the shift key when clicking on this icon to bypass the tabber filter, which also permits uploading invalid Humdrum data (which might be easier to fix in the spreadsheet). | |
| The contents of the linked spreadsheet will replace the current contents of the VHV text editor. Hold down the shift key when clicking on this icon to bypass the tabber filter, which also permits downloading invalid Humdrum data (which might beasier to fix in the text editor). | |
| The spreadsheet ID can be appended to the script ID in the input text box, seprating them with a pipe character (|) or a space. When a spreadsheet ID is present, this icon will appear, and you can click on it to open the linked spreadsheet in another tab. | |
| alt-n #-alt-n | To return to this toolbar directly, press 6+alt-n. |
See the documentation page for spreadsheet interaction for
information about how to set up spreadsheet interaction and use the system.
Hiding the toolbar
To hide the toolbar, type alt-shift-N. Typing that shortcut again will cause the toolbar to reappear. You can also show/hide the toolbar from the “View → Toggle toolbar visibility” menu entry. The shortcut alt-shift-E will toggle display of both the menu and the toolbar.
If you want to hide the toolbar when loading VHV, add the parameter
k=N to the URL. Here is a link to Mozart’s
Turkish march demonstrating this feature.